
Hosting your SecondBrain for FREE ! (ft. Cloudflare)

A very happy new year to you all !!! This is my first blog post of this year, hope this will benefit people who are interested on personal knowledge management space. I believe in the following saying:
Wasting brain power ruminating about things you can't control drains mental energy quickly
So use your brain power only for stuffs that matters the most, leave the rest to your second brain. Before proceeding with this blog, kindly take a minute to visit my version of second brain
PS: I'm currently in the process of studying and taking notes daily, it will grow with my experience.
Introduction
There are lot of blogs that talks about the Second Brain and Obsidian; but today we are not here to discuss that, but I'll be writing on how we can make our notes available to public so that we can also search and retrieve our notes on the SecondBrain when we are AFK.
This blog will help lot of Obsidian fans out there to publish their notes for FREE !!
If you are worried about taking notes that contains information private to you, there is also a solution for you at the end of this blog post.

requirements.txt
Following requirements must be met for this awesome idea to work, they are:
Obsidian ( Obviously !! )
Cloudflare or other services like [ netlify, vercel, railway.app ] to host your static site. I personally like cloudflare, so this setup will continue with Cloudflare for hosting.
Setting the stage
Follow the steps to deploy your second brain in the internet for free ( not considering the cost involved in the domain purchase, since it is optional )
Cloudflare
Create a cloudflare account by visiting this link

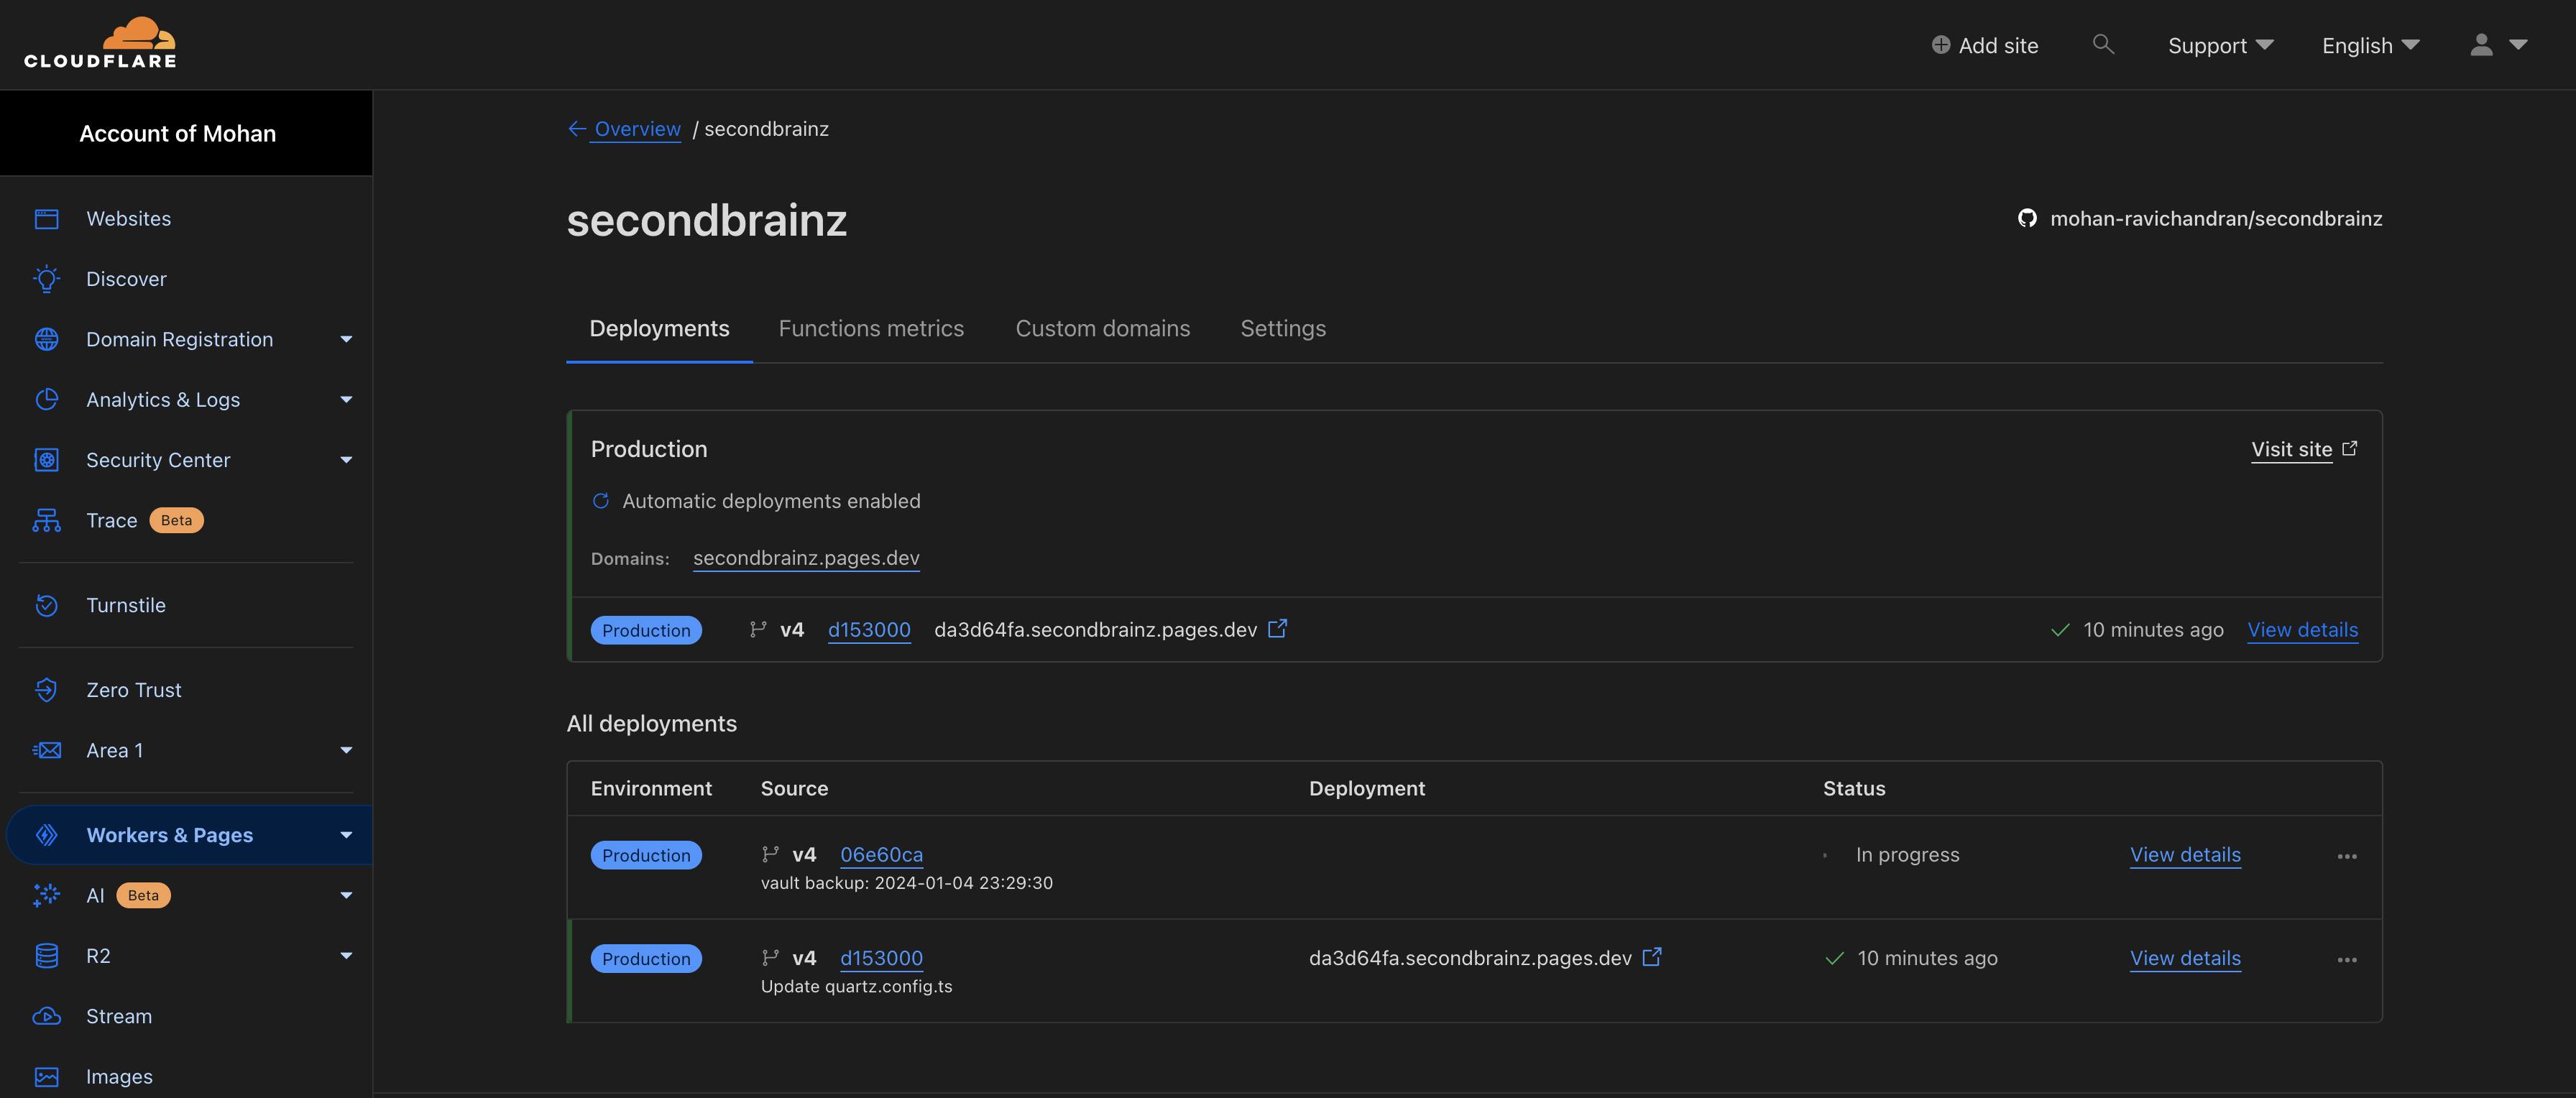
Once you signup for the account in cloudflare, go to the Workers & Pages feature. And create a new application with a project name of your choice

Connect your Github repository to the Cloudflare portal

Now select the repository that you have linked in the previous step

Add the following configuration to make a successful deployment
npm quartz build -d docs

Before clicking save and deploy, complete the steps in Github Repo section.
Finally click on Save and Deploy button on the end.

GitHub / GitLab
Fork this repository to your Github account.
A little bit of acknowledgement to the developer of this open source won't hurt you :P

Change the pageTitle as per your wish and the baseUrl to the cloudflare pages domain in the following file and commit & push the changes to remote repository
Line 6 and 12

Obsidian.md
Obsidian is the private and flexible writing app that adapts to the way you think.
Now clone the repository locally to your system

Open the docs folder inside the repository into your obsidian.md application.

Delete all the folders and files except the following ones in the screenshot

Obsidian + Github Integration
Now we are at the penultimate step of finishing our deployment, for that we need to install a plugin which will ease the process of making backups of our notes to Github. For this we have to turn on the community plugins feature in Obsidian by opening the settings.

Browse and install the following plugin and enable it on the current vault

After enabling the plugin, we have to add it to the command palette as a pinned command to easily backup our note.

Make the images folder as the attachment folder, so that every screenshot you place in your notes will be automatically saved to this folder. For that open Settings -> Files and links

Finally, edit the index.md file to edit the index page of your website. From now on you can just take notes, the quartz static generator will handle the rest. It will automatically generate the graph and link the notes like you did in your Obsidian app.

Finally, press Cmd ( Ctrl in Windows ) + P to open the command palette and select the create backup option to push the changes to remote repository.

Once the commit is pushed to the remote repository, cloudflare will automatically build and deploy the site with the changes. In this way, all you have to do from now on is to just take notes and push to Github.

Making your notes private to you...
To set this up, you can use Cloudflare's Zero Trust feature. This is free and worked very well for me. You can use Identity providers like Google and Github for Single SignOn.
Use the Self-Hosted option in the Access -> Applications page.

Select the application page from the drop-down in Domain,

Scroll down further to the Identity provider configuration and make the following changes

Proceed with the steps and add a policy that will restrict users from accessing the application. Follow the steps and create the application in One Trust dashboard


Visiting the application will display the following page, where you have to enter your email and the code that is sent to your email address. Only the emails whitelisted during our configuration are allowed to access the website.

Thank You!!
A big shoutout to https://github.com/jackyzha0 for this awesome open-source static site generator that integrated very well with Obsidian.md application
Thanks to my mentor and manager Naga, for pushing me to writing this blog post. Which he thought would benefit more people and believed that this was really a nice way to take and publish notes.
Last but not least, Cloudflare for fuelling the internet with their awesome technological advancements and making them free for people like me. Thanks....